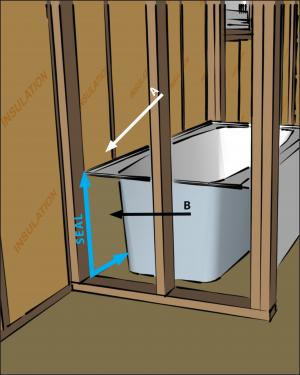
Use Roofing Nails To Fasten Shower Wall Flange To Stud

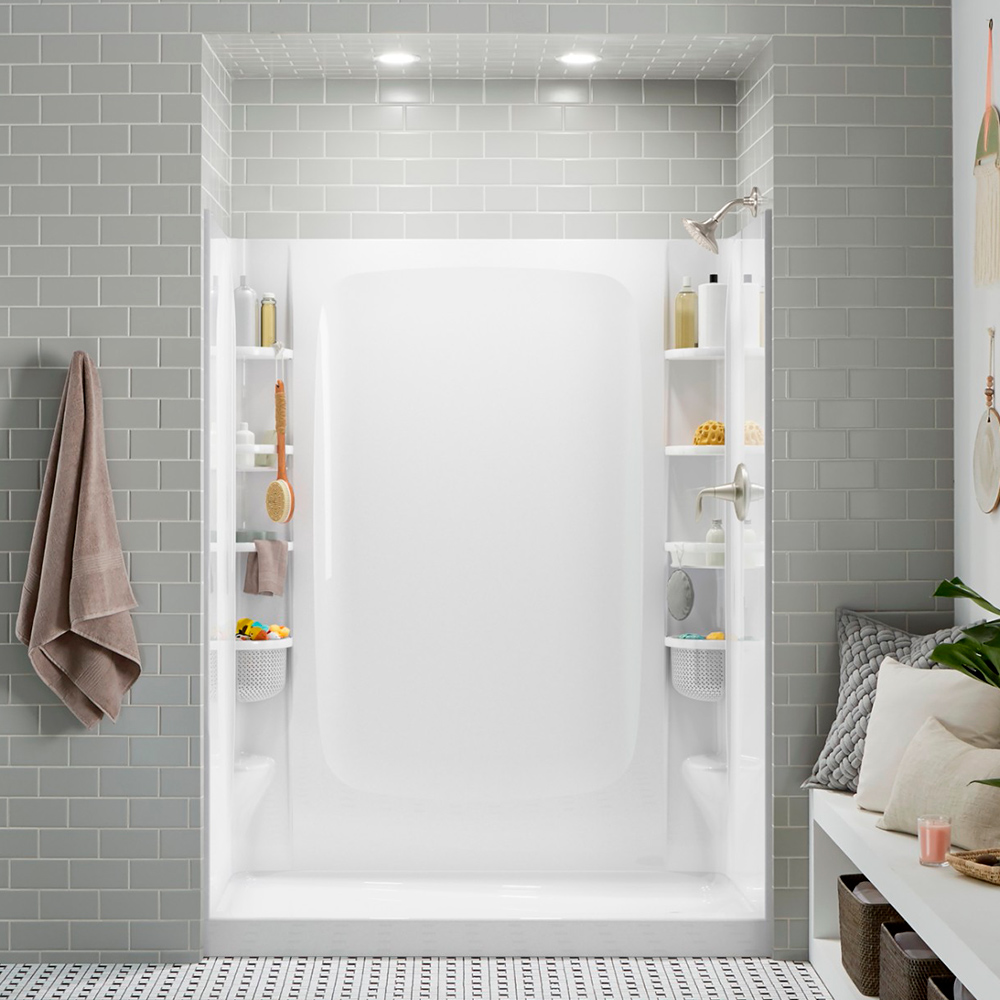
Shower Niche Shelf Organizer Tray Durable Abs Waterproof And Leakproof Craftsmanship Sleek Design A Flush D Shower Niche Toiletry Storage Shelf Organization

Types Of Fasteners Bolt And Screw Identification Chart Socket Screws Set Screws Eye Bolts Eye Lags J Bol Socket Screws Bolts And Washers Nuts And Washers

Pin On 5460 Crystal Drive

Simpson Strong Tie Bcs 2x4 Galvanized Double Post Cap Base Bcs2 2 4 The Home Depot In 2020 Deck Posts Building A Deck Diy Deck
Cdsa2uisw6srum

Pin On Home Decor

Some kits have two side wall panels.
Use roofing nails to fasten shower wall flange to stud.
Walls Behind Showers And Tubs Building America Solution Center

Bathroom Remodeling Part 2 Prep For Shower Tile

Pin On Plumbing Ideas
/cdn.vox-cdn.com/uploads/chorus_image/image/65895817/toenailing_x.0.jpg)
The Right Way To Toenail This Old House

Rev A Shelf Two Tiered Drawer Pull Out Pantry Rev A Shelf Pull Out Drawers Kitchen Drawer Organization
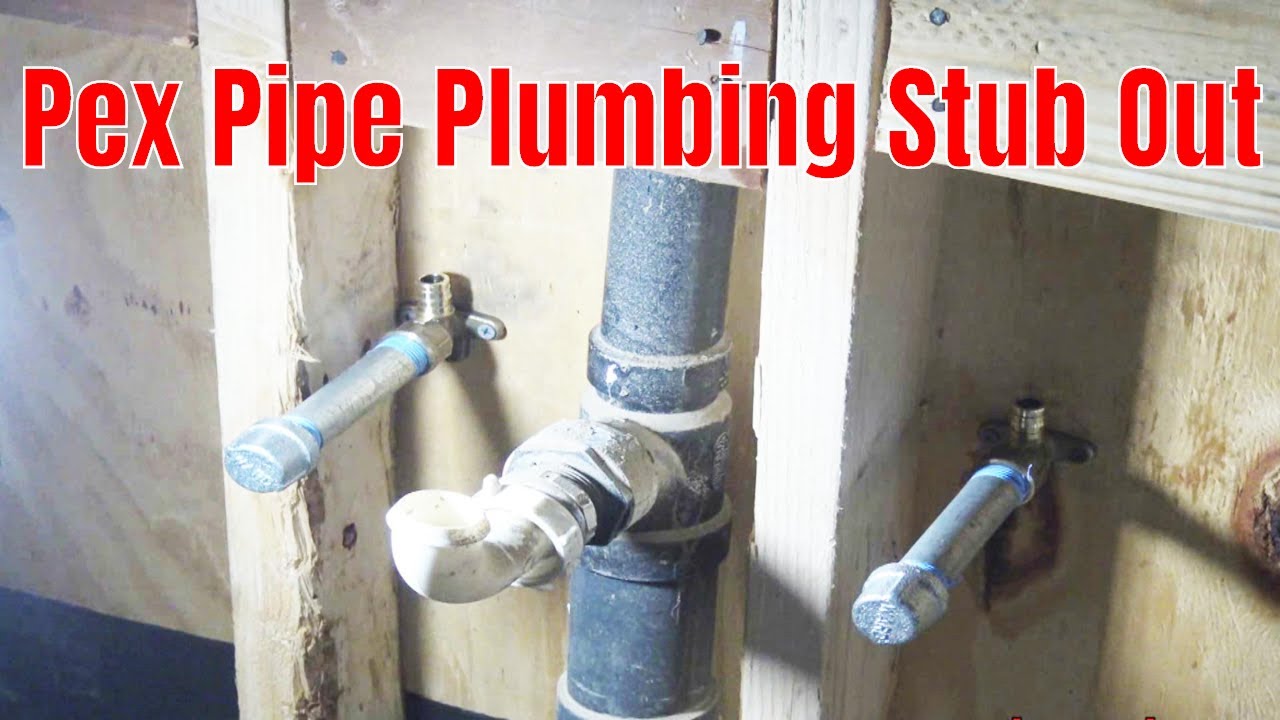
Pex Pipe Plumbing Stub Out Set Up And Hang Shower Valve Youtube

Diy Bathroom Remodeling Phase 4 Cement Board Installation
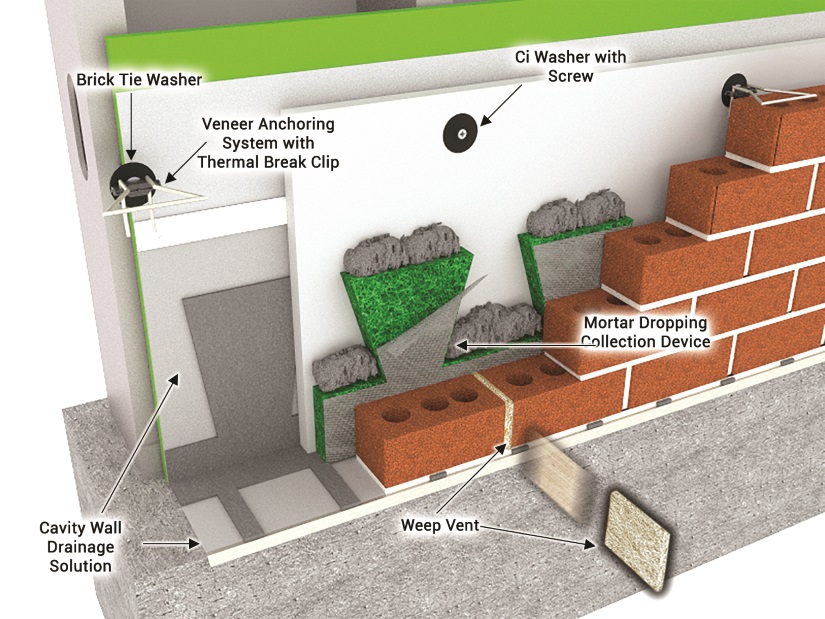
Ce Center
Installing A Shower Pan Liner Extreme How To

Quick Connect Pipe Frame Wall Shelf

How To Install A Tongue And Groove Ceiling New Homes Tongue And Groove Ceiling Remodel Bedroom

Lawriter Oac

Rev A Shelf Two Tiered Drawer Pull Out Pantry Rev A Shelf Pull Out Drawers Kitchen Drawer Organization
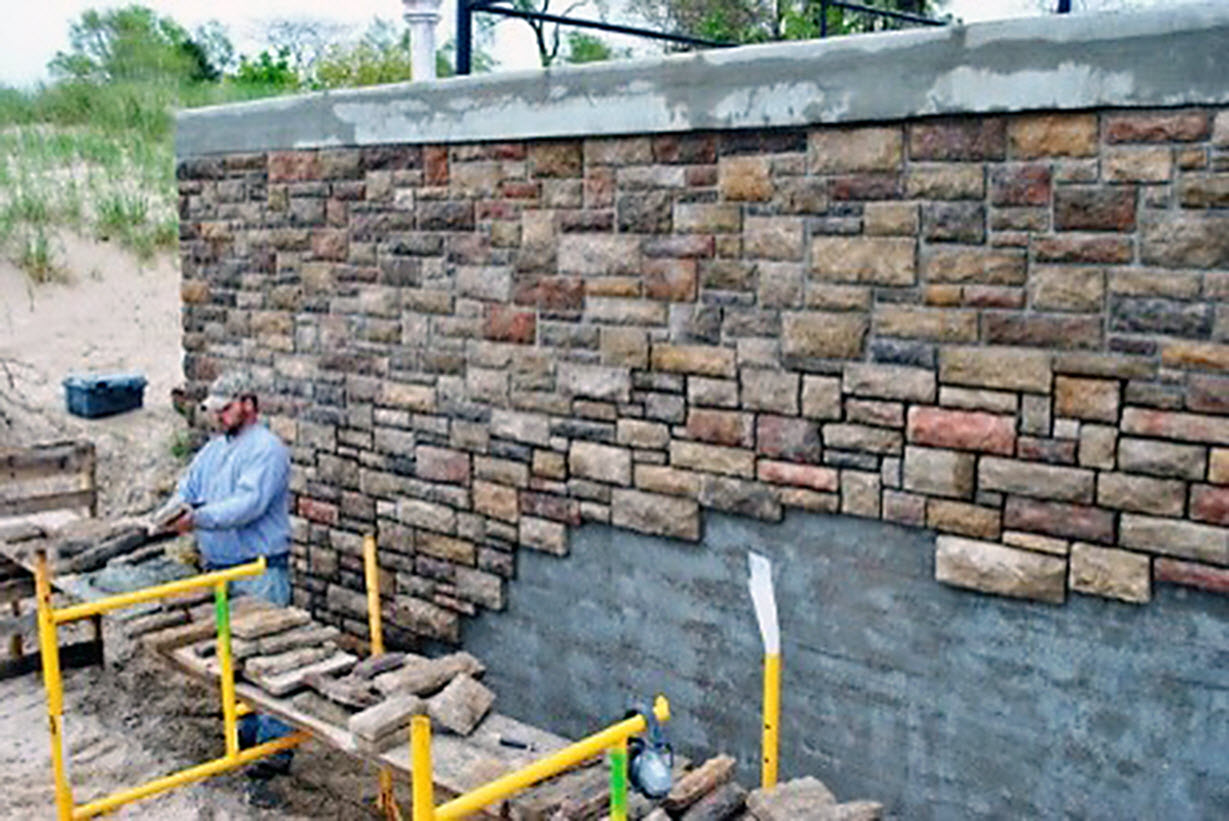
Ce Center Designing Adhered Masonry Veneer

Transparent Furniture Protective Film Video Diy Home Repair Furniture Home
How To Install A Bathtub Make It Rock Solid Home Repair Tutor

Simple Shower Stall Installation Instructions Your Health Explained

Tiled Shower Waterproofing Systems Schluter Com
Https Encrypted Tbn0 Gstatic Com Images Q Tbn 3aand9gctw7opravwncfsm2teiv Orierczdk Qwjdcdb3w8toavpdlqkl Usqp Cau

Wall Sheathing Installation Tips From Georgia Pacific Youtube
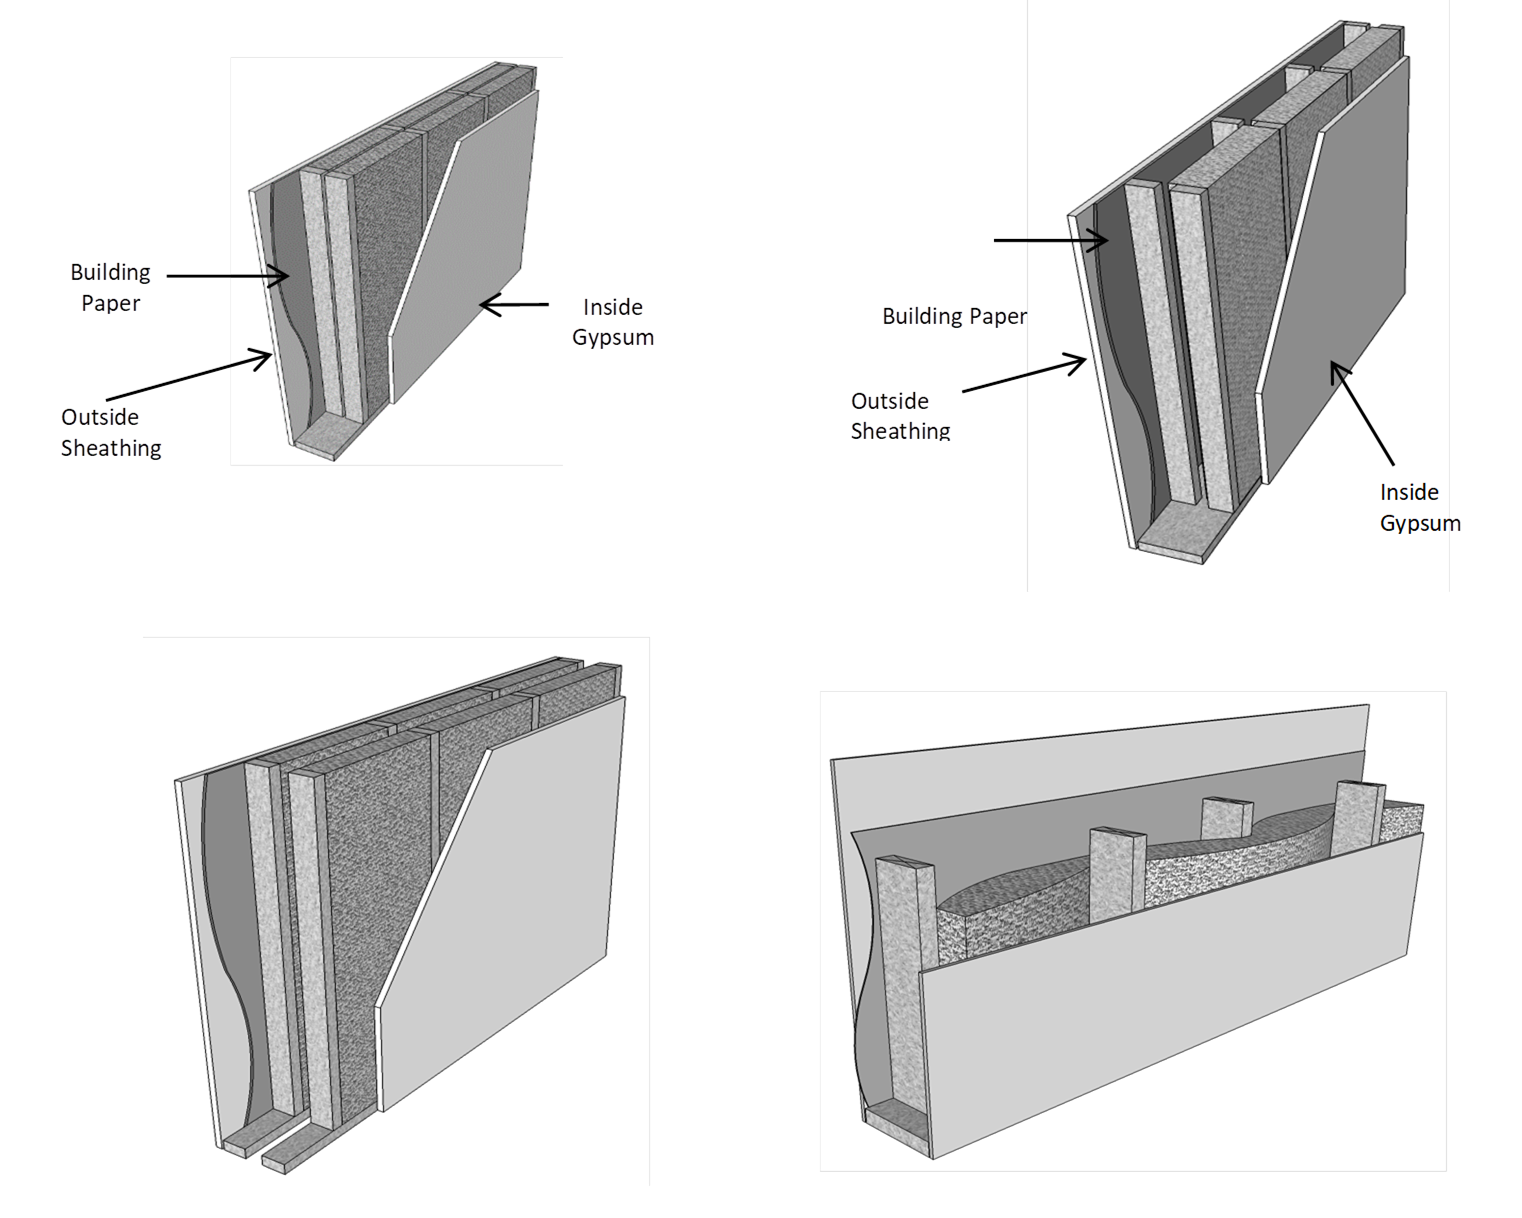
3 6 Envelope Features

How To Fix Plasterboard To Timber And Metal Framing Using Timco Drywall Fixings Youtube

Retrofitting A Sliding Door Jlc Online

3 Methods For Sealing Or Waterproofing A Tub Flange For Tile Diytileguy
Source : pinterest.com
